I've written philosophy about travel photography before — the "tourist frame vs traveller frame" distinction. This is its sequel, but fully practical this time: what's in my bag, why it's there, and how I use it on the road. Read it as a field guide.
The trio in the bag: little but complete
Body: Sony A7 III
I haven't replaced it in years and don't plan to. Three reasons: battery life (a full day of city walking on one battery — on the road that means no charging anxiety), low-light performance (evening streets, dim markets, night skies — still usable files at ISO 6400) and file flexibility (the RAWs pull unbelievable detail from shadows; that's what rescues the frame you shot against the light). Every year its price drops, it becomes easier to recommend.
Main lens: Sigma 35mm f/1.4
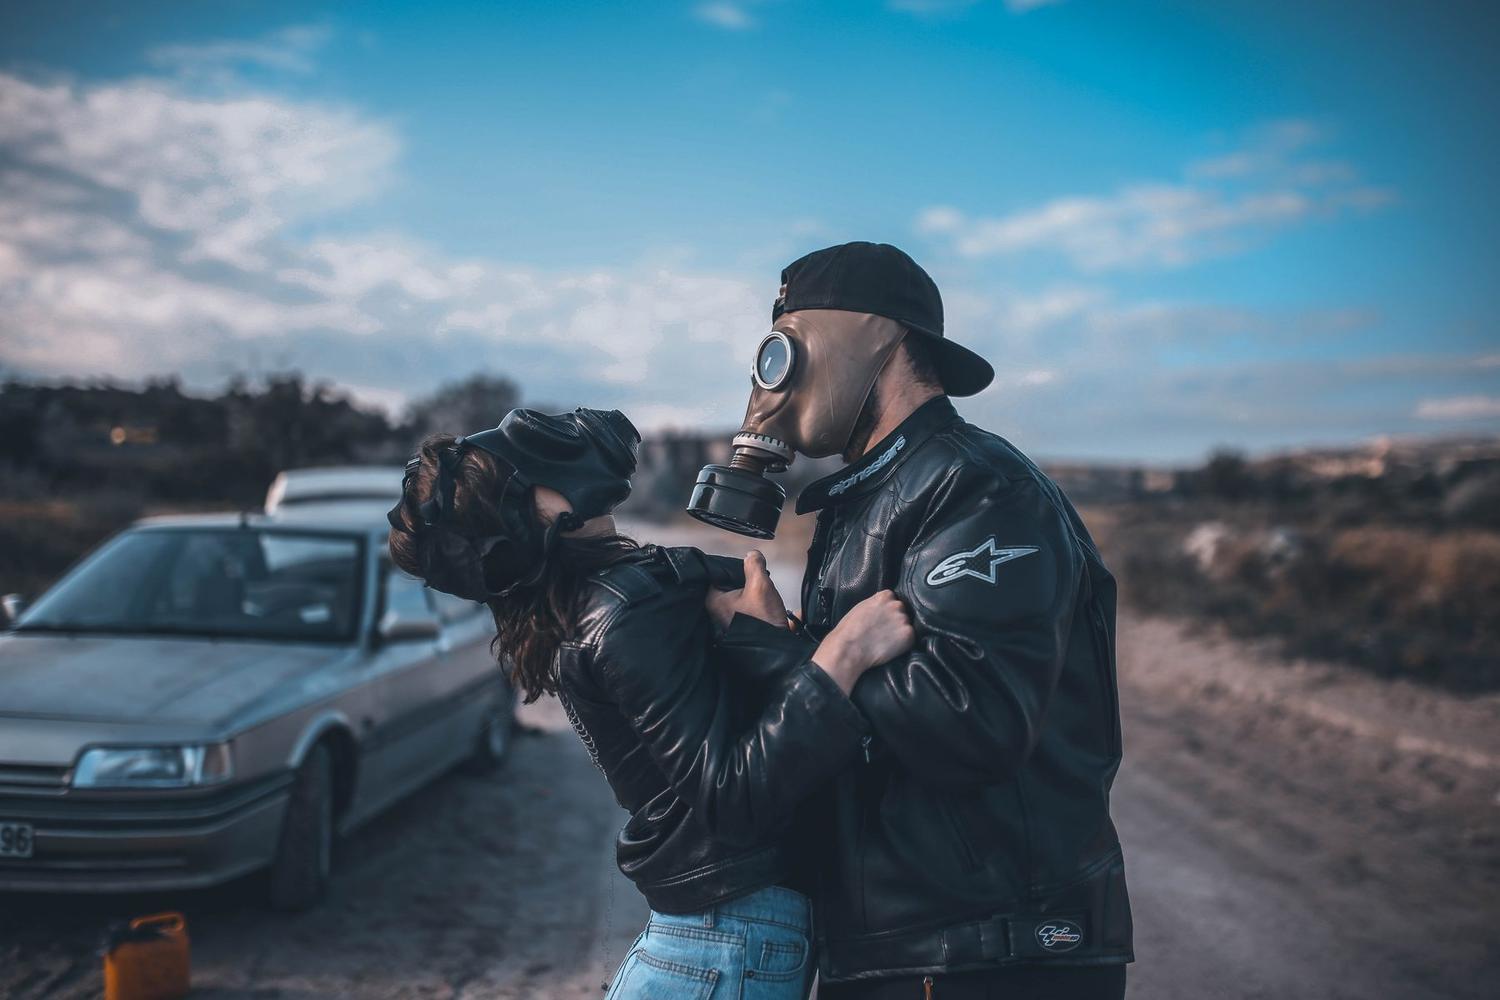
My frame's native language. 35mm is travel's natural focal length: it leans into portraits, gathers the street, shoots the breakfast on the table. And f/1.4 gives two things — freedom in low light, and a depth of field you can lean on when you want it. I use my feet instead of a zoom; this lens made me a better photographer because it doesn't permit laziness.
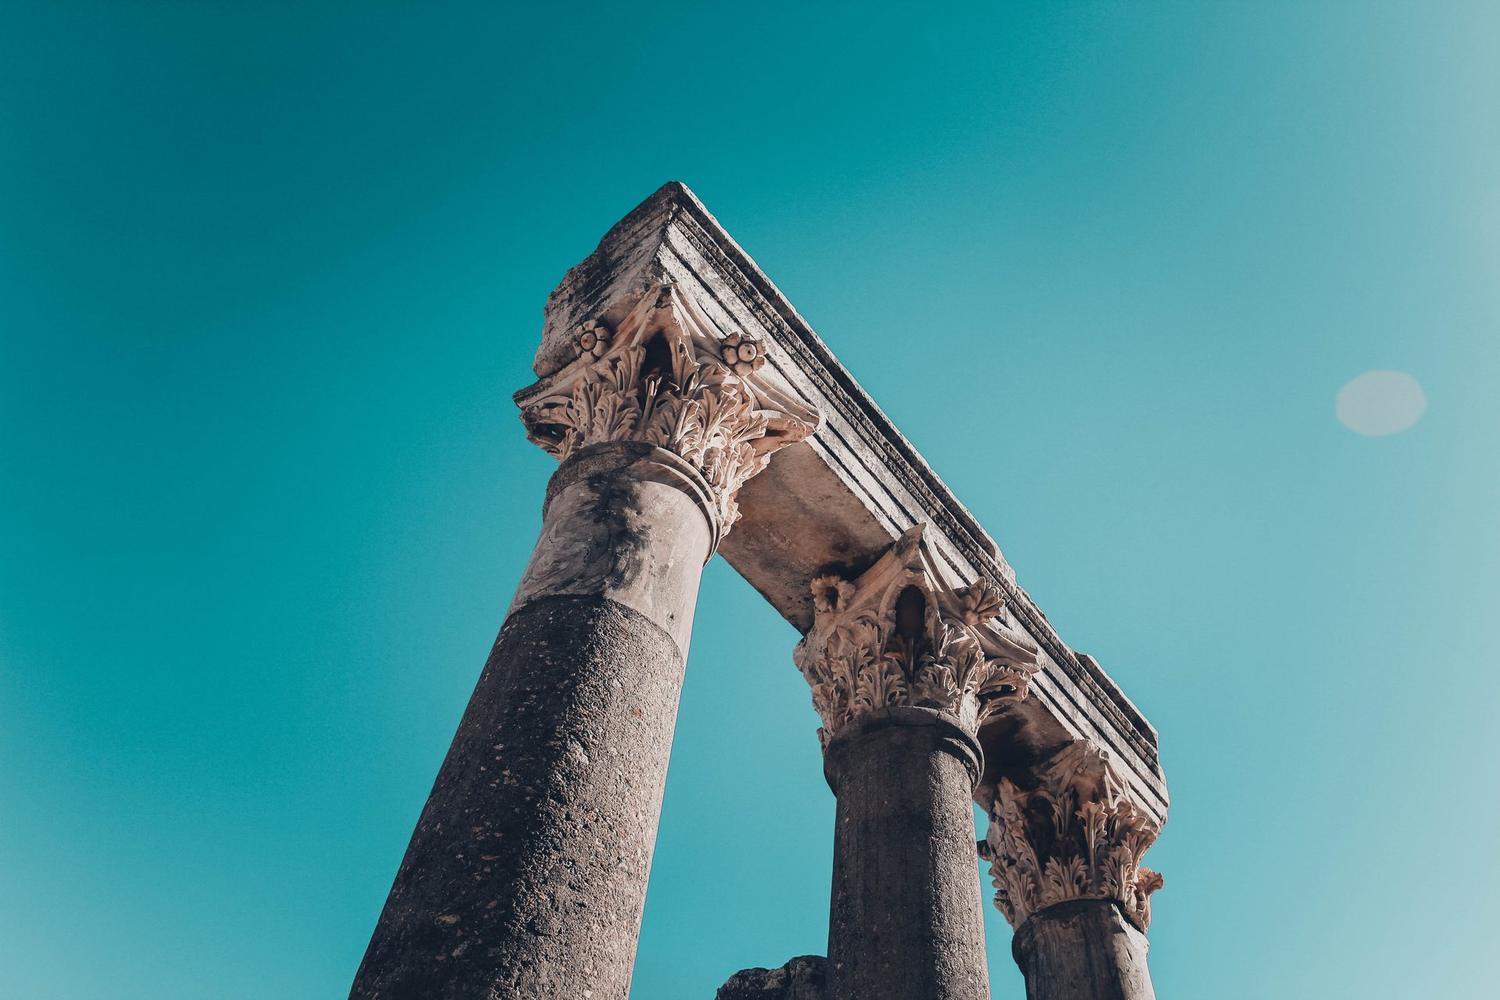
The wide backup: 7Artisans 12mm f/2.8
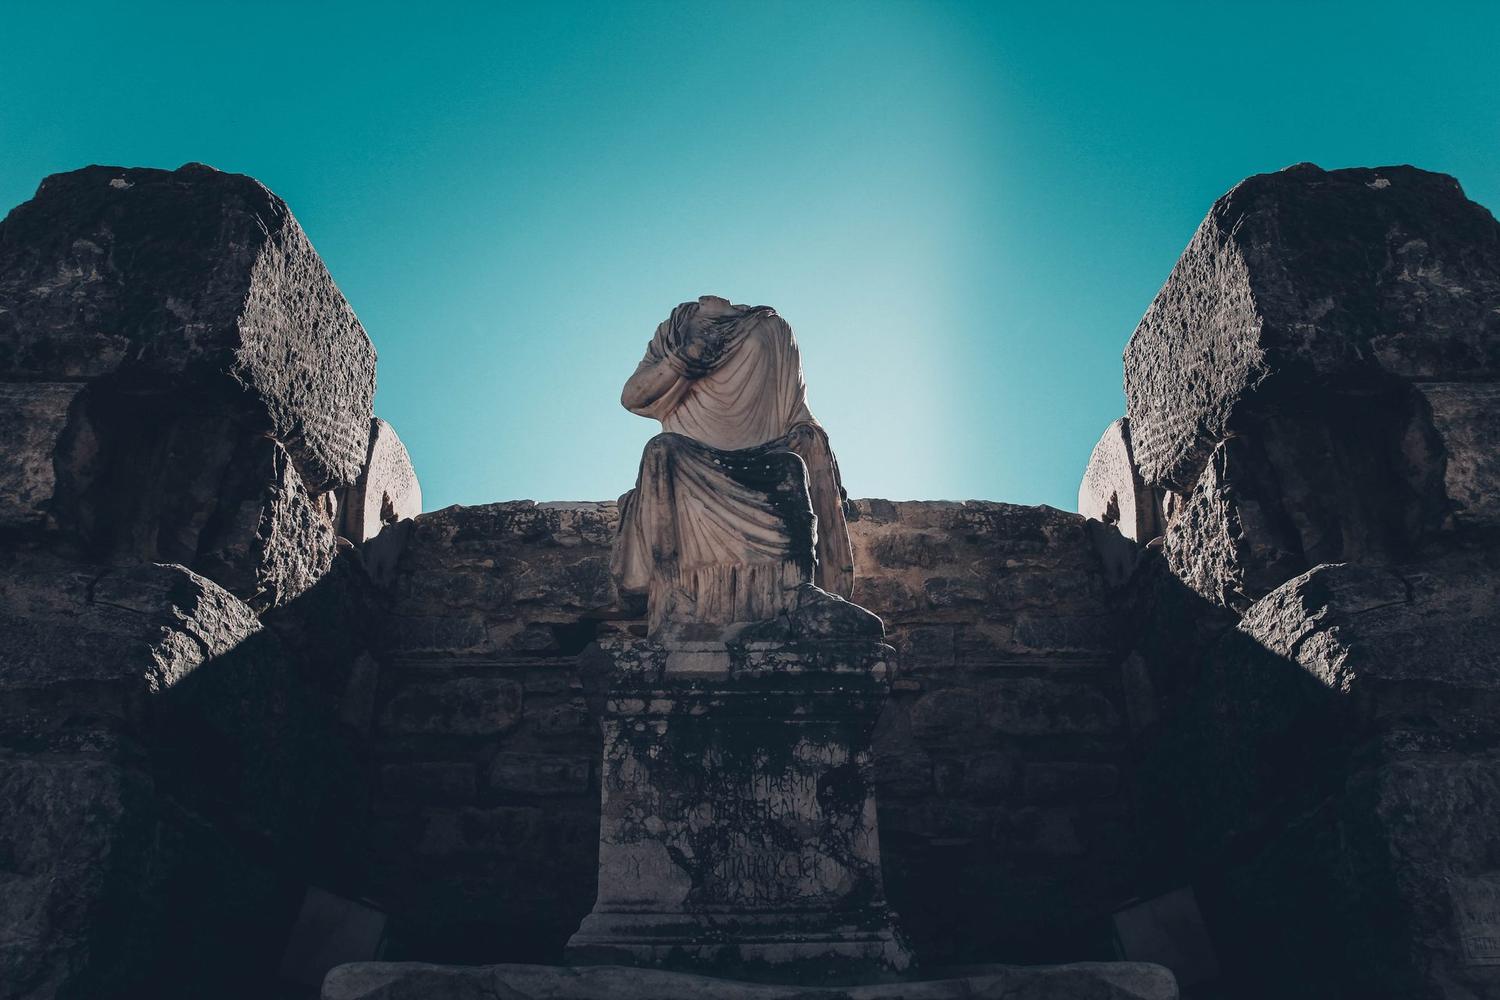
Budget-friendly, fully manual, the hero nobody expects. The 12mm's job is architecture and interiors: narrow streets, mosques, cave hotels, starry skies. Manual focus is no problem this wide — at f/5.6 almost everything is sharp. It builds the same frame as lenses ten times its price; don't worry about soft corners — the story doesn't live in the corners.
A good travel kit isn't built "just in case" — it's built "ready for every decision".
Flow in the field
- Morning (blue + golden hour): 12mm on the body — architecture and wide scenes while the city is empty.
- Midday: 35mm — people, markets, food, detail. In harsh noon light, turn to shadow play.
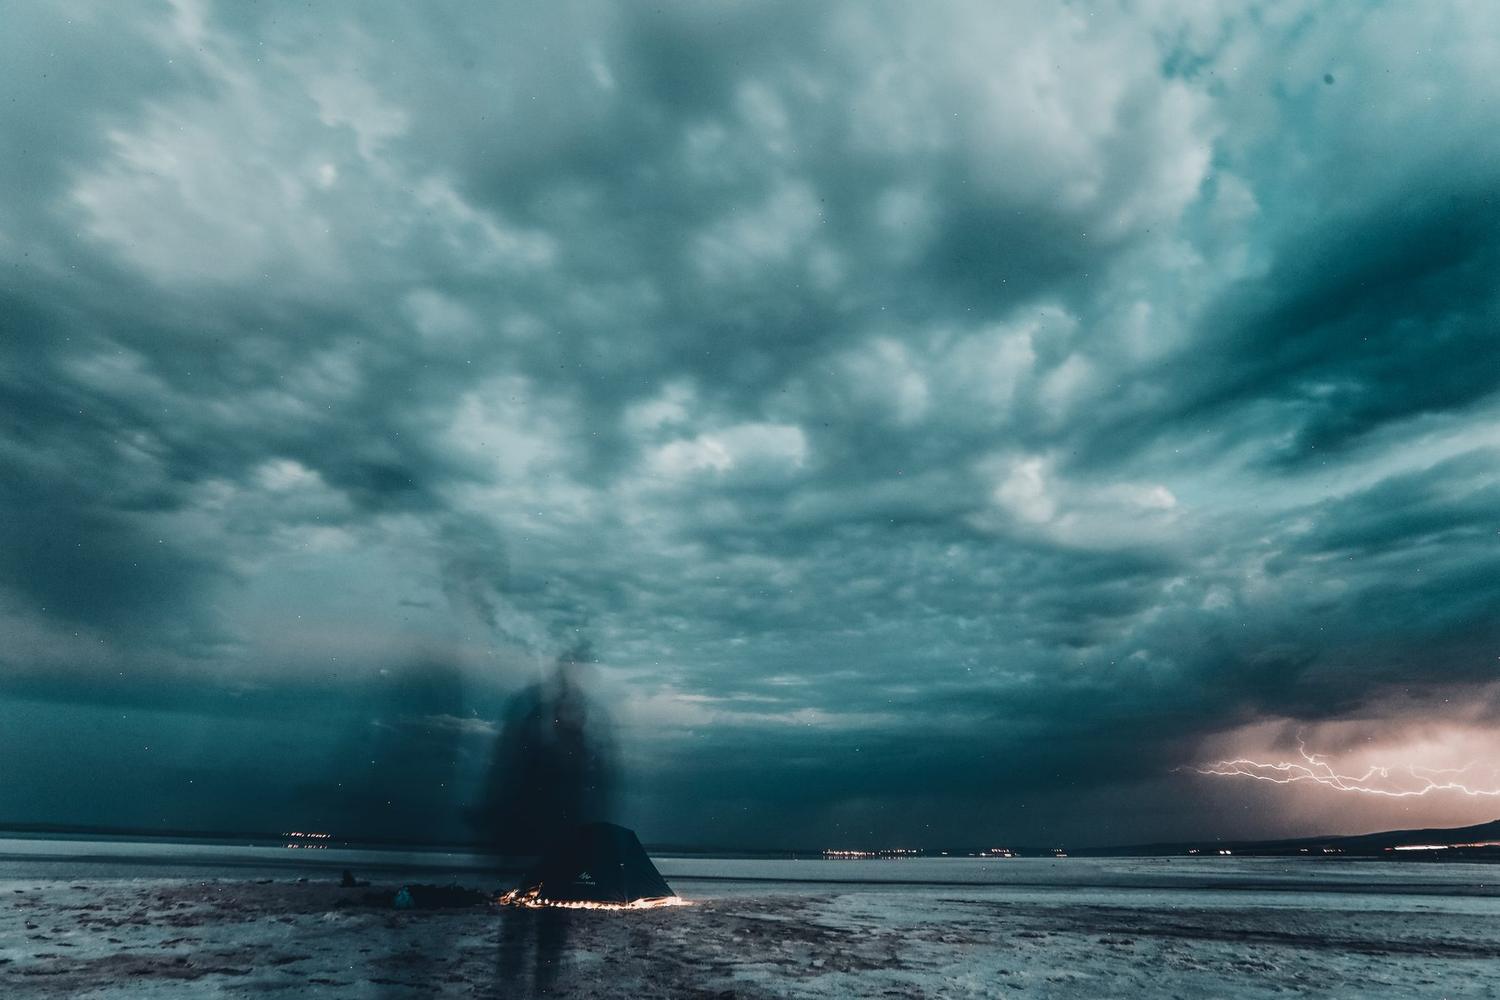
- Evening: 35mm f/1.4 in the street lights; if the tripod comes out, 12mm + stacking for the night sky (separate guide on the blog).
My setting recipes
- Street: aperture priority, f/2.8, Auto ISO (cap 6400), min shutter 1/250.
- Portraits: f/1.4-f/2, Eye AF on — the A7 III's eye tracking is flawless with the 35mm.
- Architecture/interiors: 12mm, f/5.6-f/8, base ISO, a railing or a table becomes the tripod when needed.
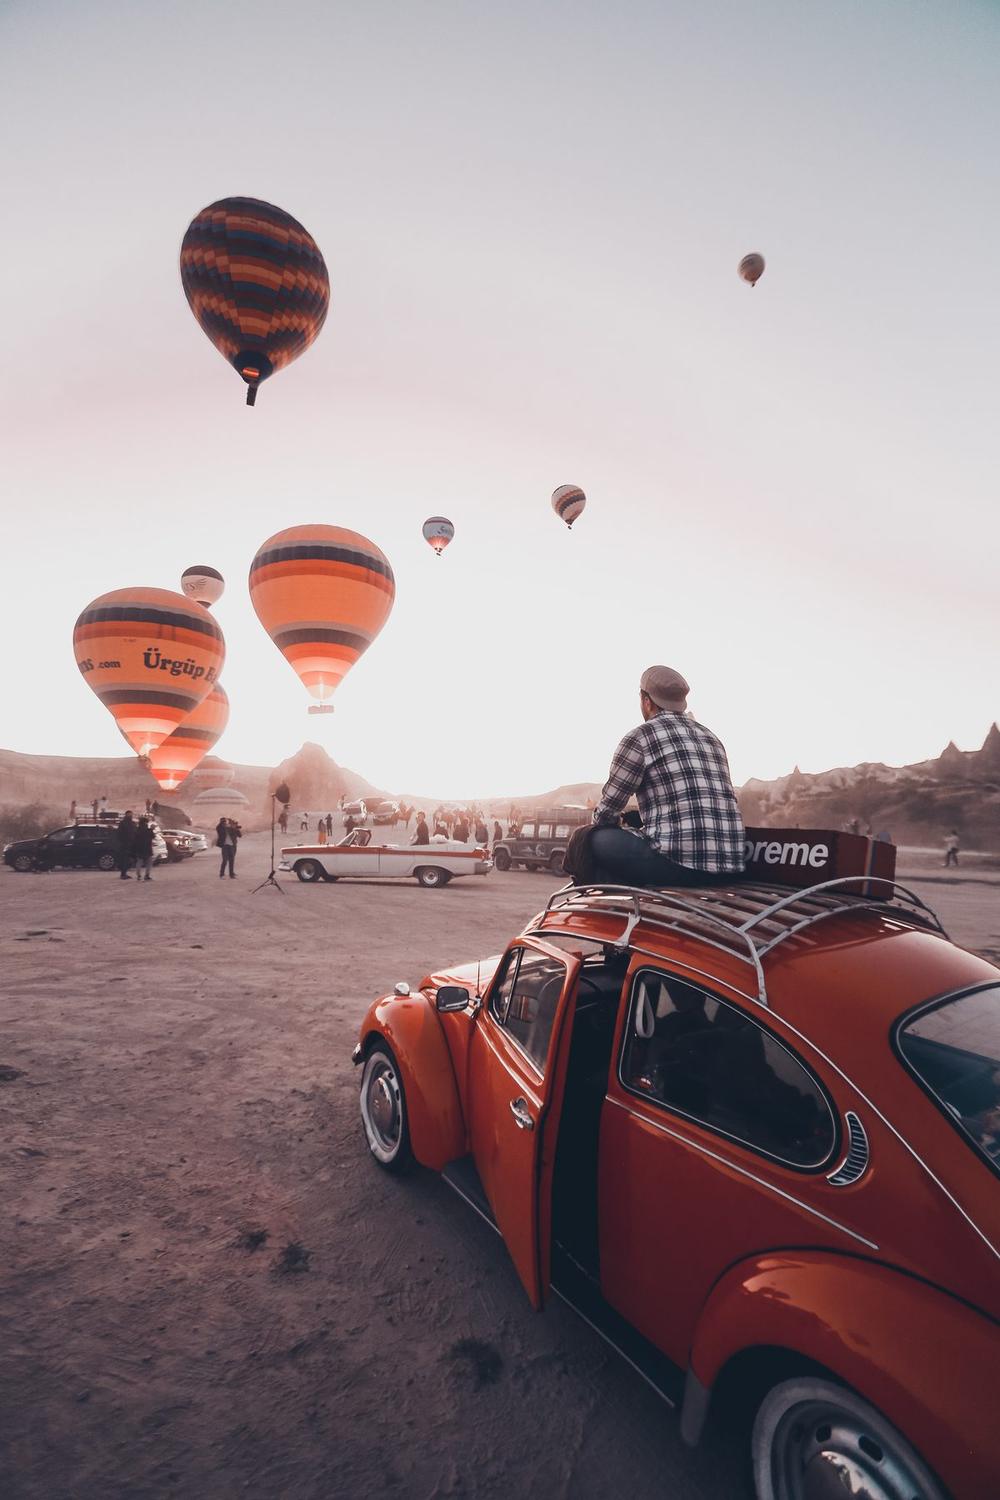
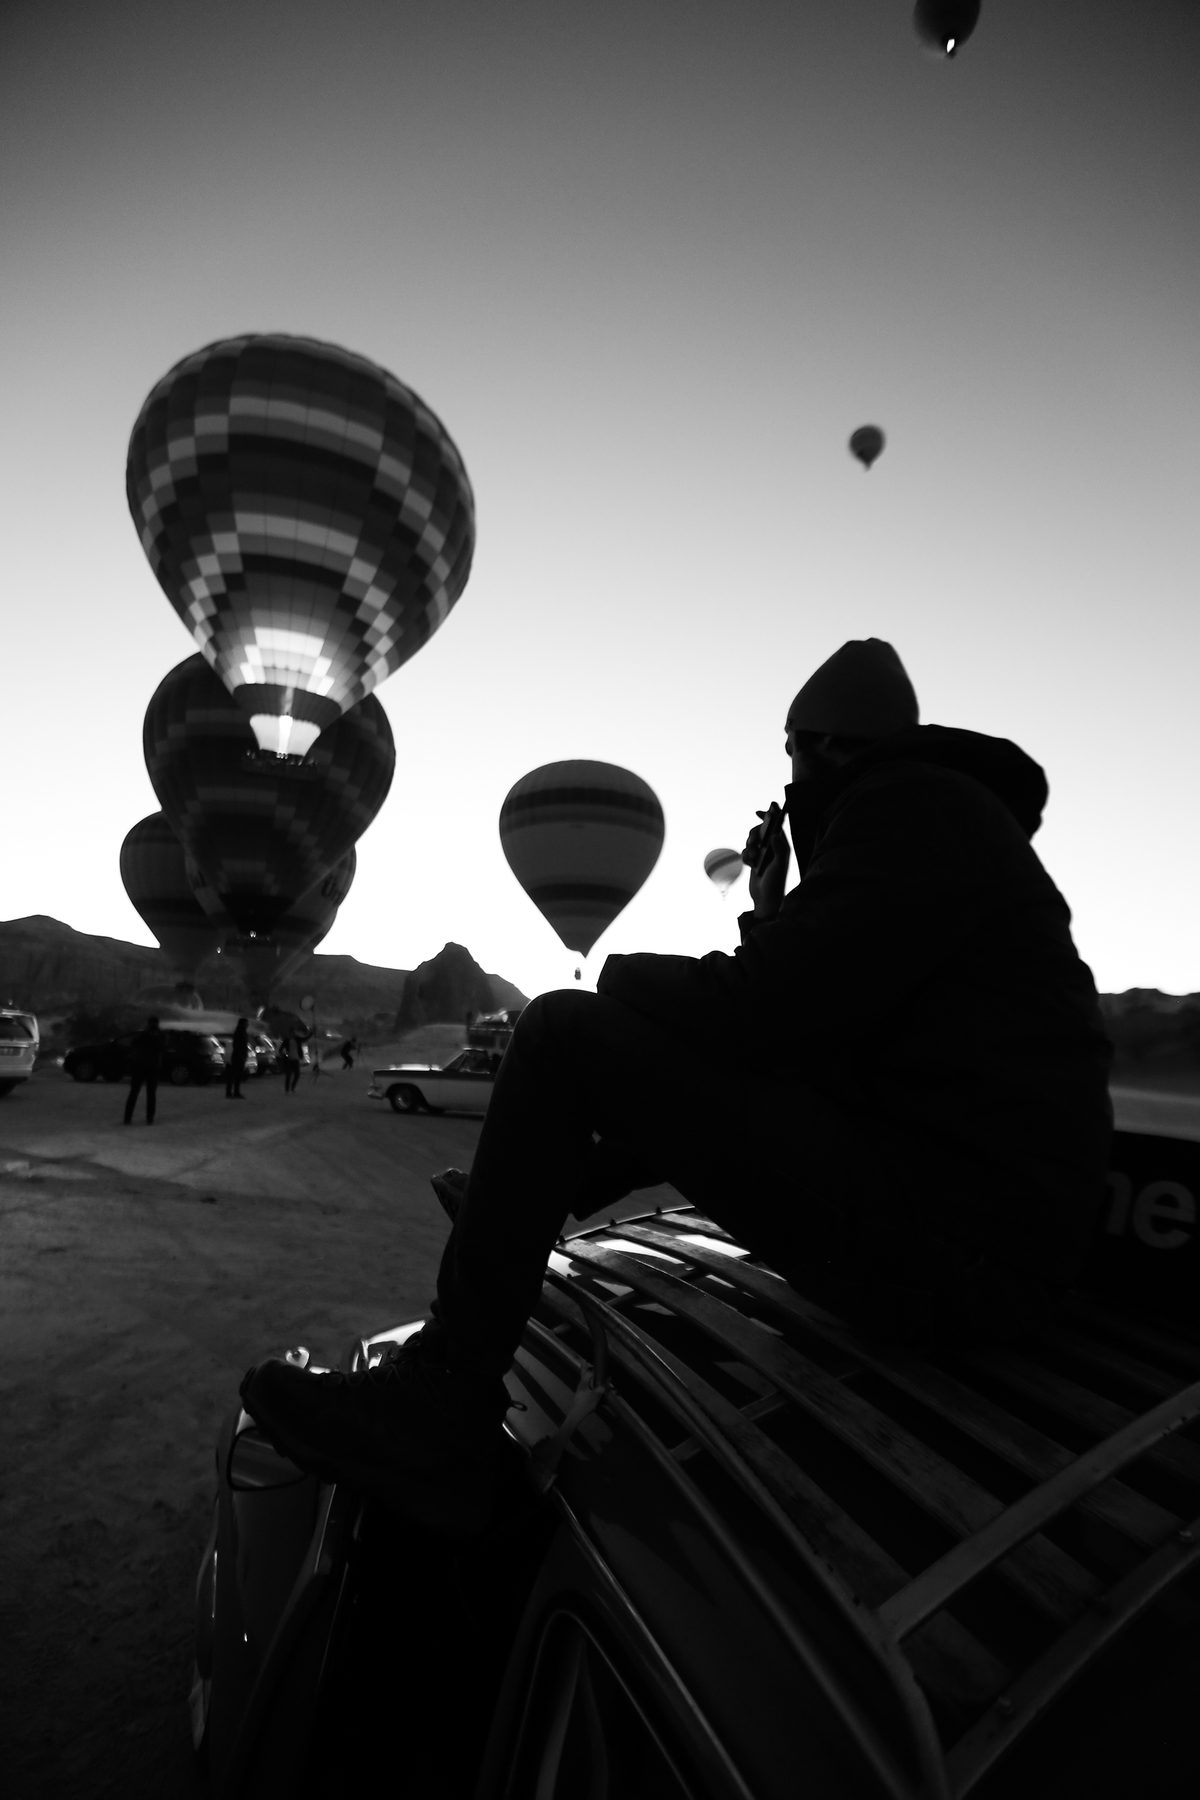
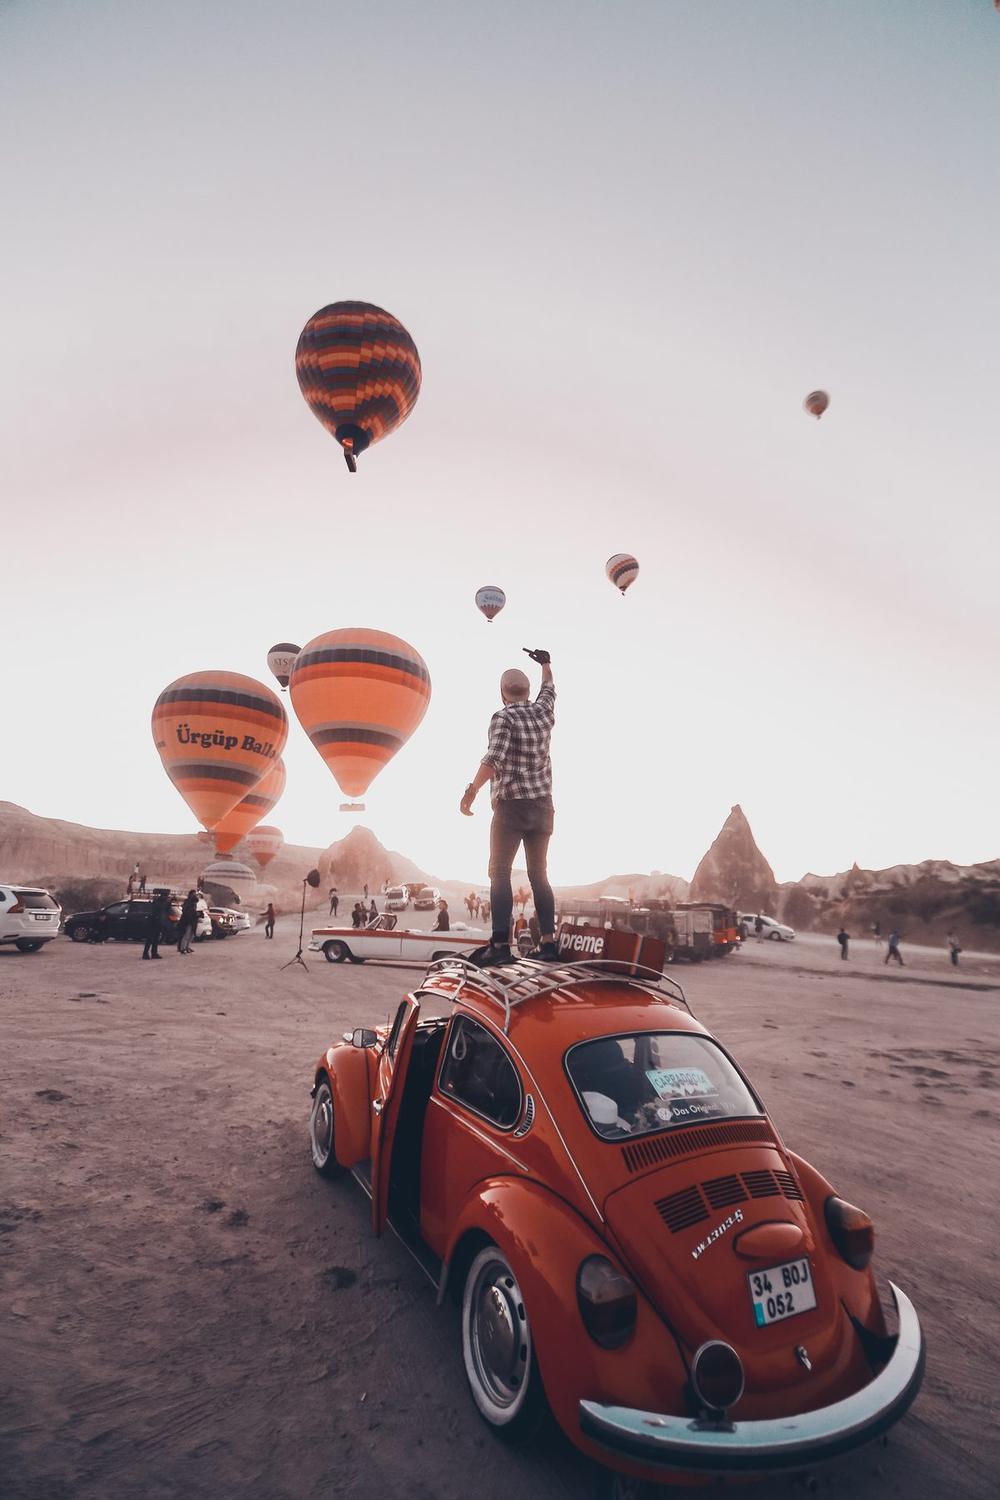
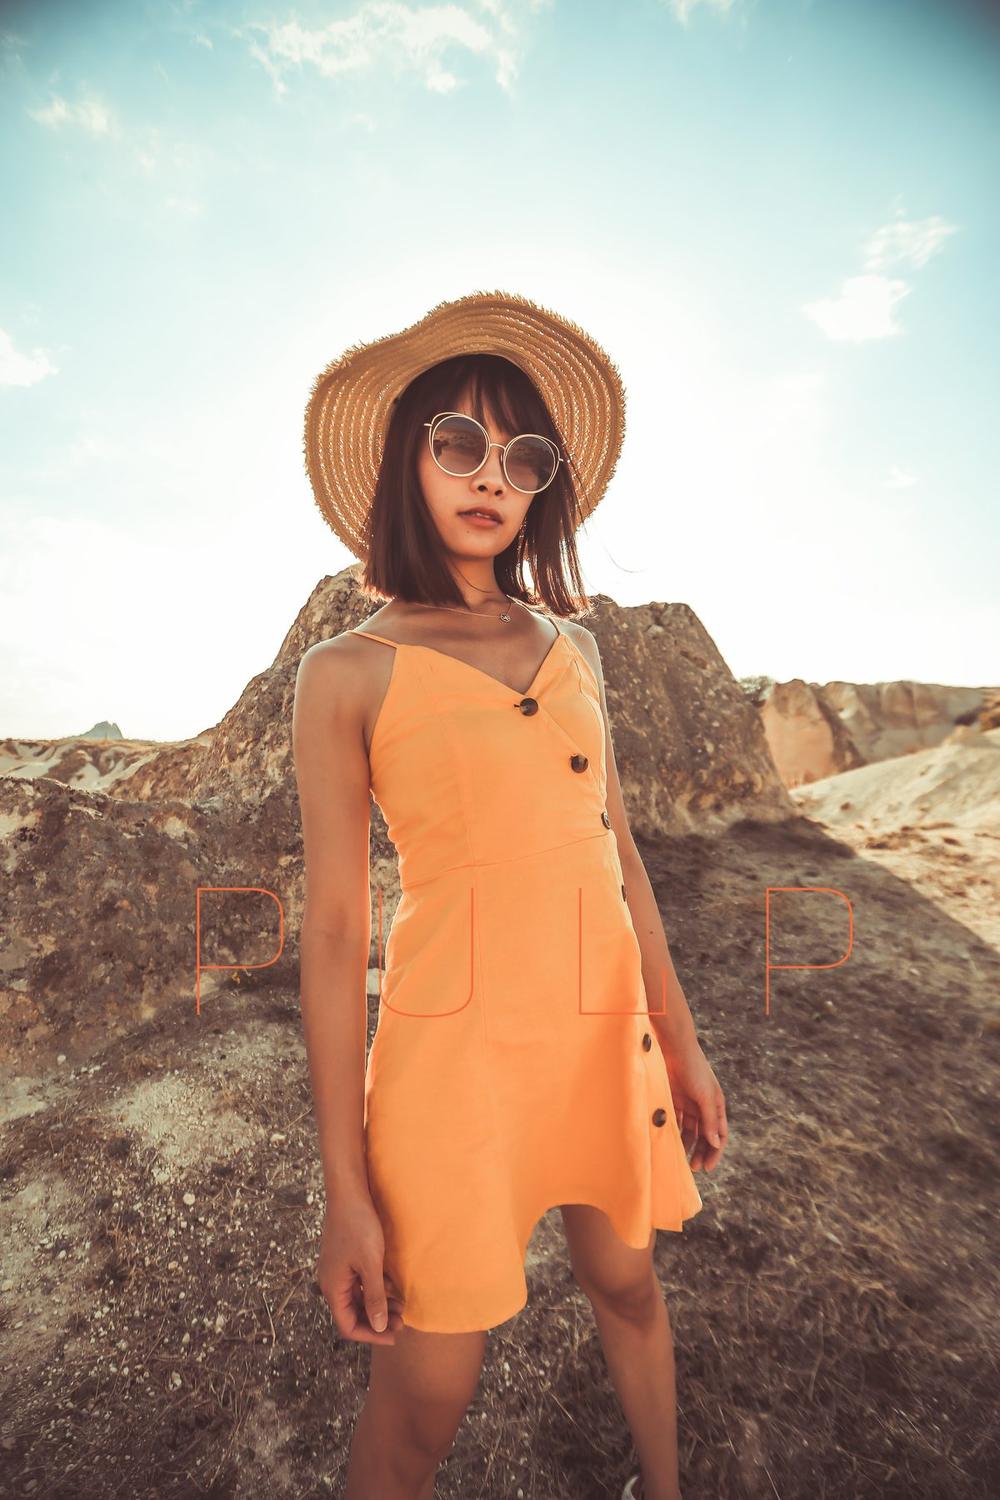
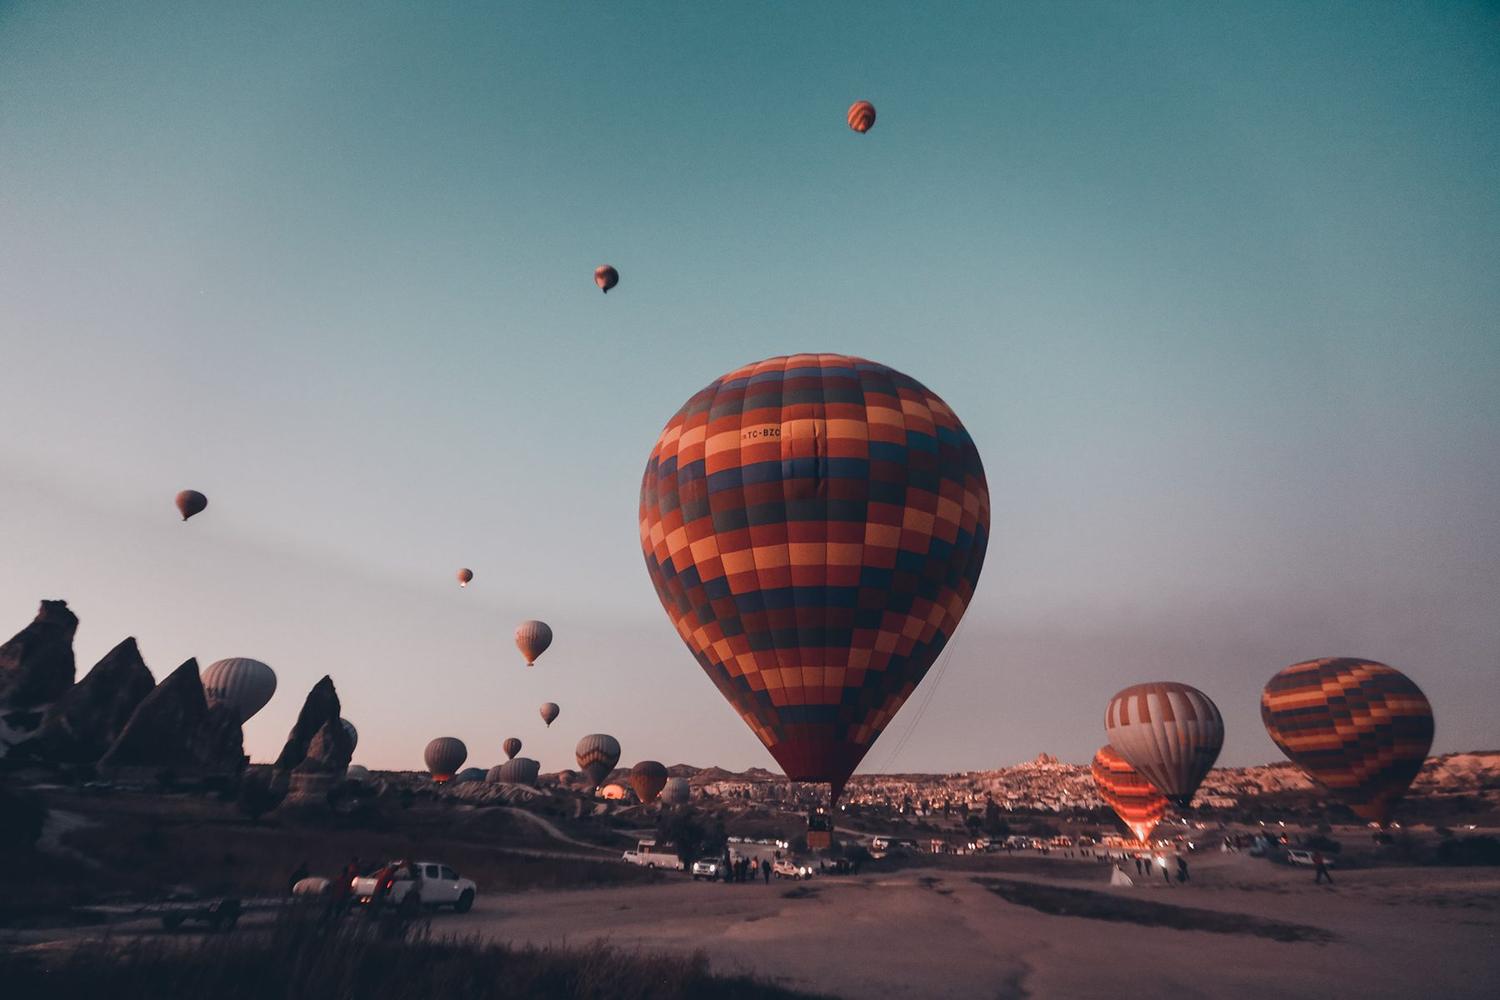
The Cappadocia example
To see this recipe working in the field, look at my Cappadocia archive: balloon mornings belong to the 12mm (sky + valley in one frame), valley portraits to the 35mm. The selection below is a summary of how these two lenses converse on the same trip.
Let's write this story together.
Send your date and the mood you imagine — I'll reply within 24 hours.
Get in Touch